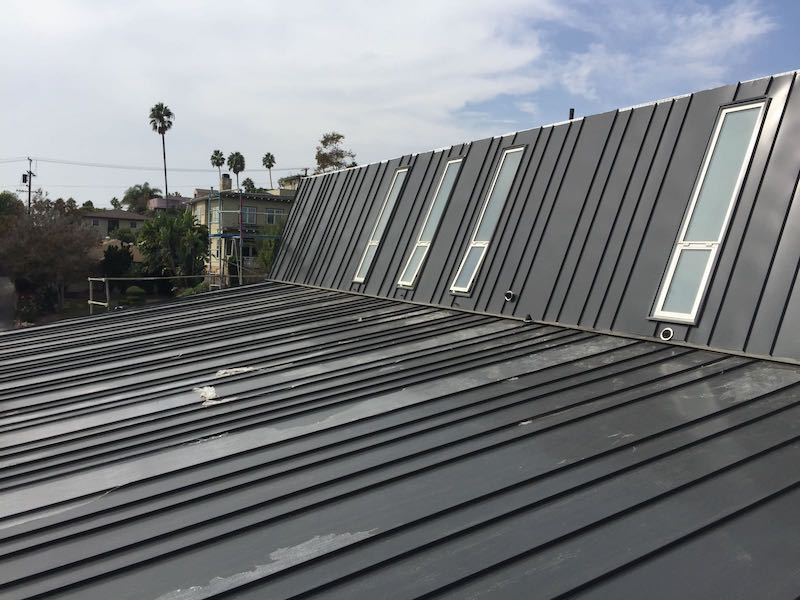
When it comes to metal roofing, durability and longevity are often the first attributes that come to mind. However, even the most robust metal roofing systems are not entirely immune to the ravages of nature. One common problem that homeowners face is the issue of leaks. Flashing is an indispensable component of any roofing system that helps prevent such leaks. In this blog post, we’ll delve into what flashing is, its importance in metal roofing, and how to use it effectively to prevent leaks.

What is Flashing?
Flashing is a thin piece of material, usually made of aluminum or galvanized steel, that directs water away from critical areas of the roof, such as joints, seams, and transitions. These are areas where the roof is most vulnerable to leaks, and flashing serves as an extra layer of protection.
Why is Flashing Important?
- Waterproofing: Flashing helps to create a watertight barrier, preventing water from seeping into your home.
- Durability: Quality flashing is resistant to corrosion and wear, adding years to the lifespan of your metal roof.
- Energy Efficiency: By preventing leaks, flashing also contributes to better insulation and, therefore, improved energy efficiency.
Types of Flashing for Metal Roofs
- Step Flashing: Used around chimneys and skylights.
- Valley Flashing: Placed in the valleys of your roof where two sloping roof sections meet.
- Ridge Cap: Covers the ridge of your roof.
- Drip Edge: Installed along the edge of the roof to direct water away from the fascia and into the gutter.
Installing Flashing: Best Practices
Step 1: Choose the Right Material
Make sure you choose flashing material that is compatible with your metal roofing.
Step 2: Proper Measurement
Measure the areas where flashing is to be installed. Accurate measurements will minimize waste and ensure a snug fit.
Step 3: Secure the Flashing
Use appropriate fasteners to securely attach the flashing to your metal roof. Make sure the fasteners are compatible with your roofing material to avoid corrosion.
Step 4: Seal the Joints
Apply a high-quality sealant to the joints where different pieces of flashing meet. This will create an added layer of water resistance.
Step 5: Inspect Regularly
Regular inspection and maintenance can help you detect any wear and tear before it becomes a serious issue.
Common Mistakes to Avoid
- Using Mismatched Materials: Using incompatible materials can lead to corrosion.
- Poor Installation: Incorrectly installed flashing can be worse than no flashing at all.
- Ignoring Maintenance: Even the best flashing will eventually wear out and need replacement or repairs.
Conclusion
Flashing is a critical component in maintaining the integrity and longevity of your metal roof. By understanding the types of flashing available and adhering to best practices during installation, you can significantly reduce the risk of leaks and add years to the life of your roof. Always consult with a professional if you’re unsure about any step in the process to ensure your roof remains strong and leak-free for years to come.
